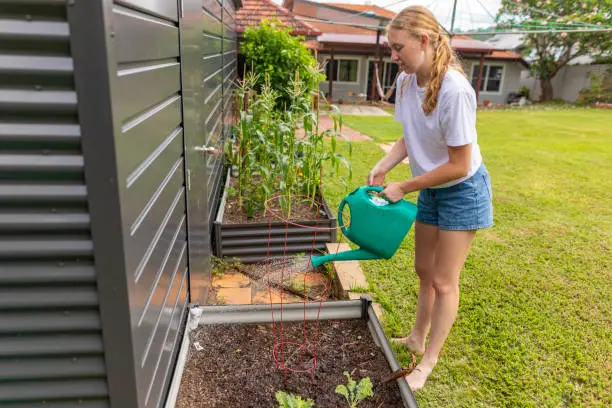
A backyard homesteading complete with fresh food. The tomatoes are ripe, the cucumbers crisp, and the zucchini growing quicker than bunnies. Now what? Let’s start canning. Jarred food preservation is old. It may sound like your grandma did it, but canning is back.
First, get supplies. Get mason jars, lids, and rings. A big pot for heating water is also necessary. If you’re fancy, buy a pressure canner for low-acid goods like green beans and meats.
Start simple with acidic meals like tomatoes or apples. These canning training wheels are more forgiving of faults.
Please get to the point. Clean those jars! This game values cleanliness almost as much as godliness. You don’t want pests destroying your effort.
The produce prep follows. Cut the produce into manageable bits. Put the fruits in a pot with water or syrup and boil.
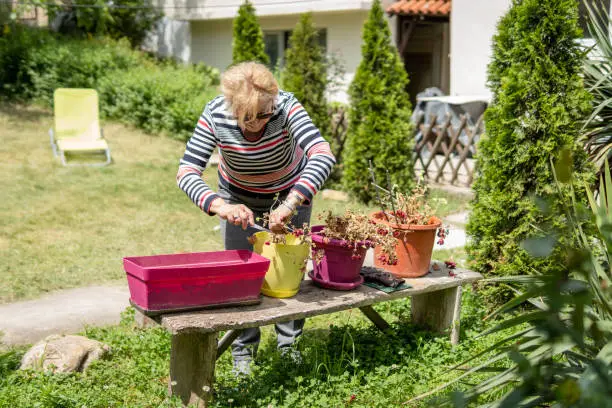
Filling the jars is enjoyable! Use a funnel (you’ll need one) to avoid spillage. Leave a half-inch headroom at the top for processing expansion.
After filling, clean the rims with a moist cloth. Any residue can inhibit good sealing—a rookie error we’ve all made!
Screw the rings and lids to fingertip tightness, not Hulk-tight! Avoid warping the lid.
They enter the boiling water bath! Cover the jars with at least an inch of water. Recipes for high-acid meals call for 10-15 minutes of boiling.

Use jar lifters (claw-like tongs) to carefully remove the jars. When the time is up, lay them on a towel-lined counter. Leave them to cool for 12–24 hours.
The lovely “ping” sound they make when they seal will make any canner happy!
Be patient! Wait to store them. After cooling, a properly sealed jar won’t pop up when you press down on the middle of the lid.
To prolong their life, store canned goods in a cold, dark pantry or basement shelf away from the stove.
Canning is practical and rewarding. Opening a jar of summer-fresh tomatoes in January is like bottling sunshine!
But let’s be honest—canning has its quirks and difficulties. Have you ever had a jar explode from insufficient headspace or detect mold from improper sterilization? Was there, done that!
I recommend labeling everything! Six months from now, you’ll need clarification about whether that shelf holds peach jam or apple butter.
Jams deserve their chapter! Jam making is almost therapeutic—the bubbling fruit mixture fills your home with pleasant fragrances. Getting jam after aromatherapy is better!
Pectin helps jams and jellies get the proper spreadable consistency without hours of cooking fruit till it’s candy-like (unless that’s your goal).
Remember to mention pickles! Crisp, brine-soaked cucumbers seasoned perfectly… Tastes nice! Trying new spices can lead you down interesting rabbit holes—you might find combinations you never thought would work!
Have you ever tried pickled watermelon rind? It tastes great—try this southern delicacy!
However, botulism is accurate and deadly, not just an old wives’ tale to scare kids away from homemade preserves! Always use trusted recipes for low-acid foods that require pressure canning instead of water baths.
Have leftover pickling brine? It makes a zesty marinade base for meats, turning bland chicken breasts into flavorful treats!
Remember that the most excellent part about home-canned foods is sharing them and enjoying their optimum ripeness! Giving beautifully labeled jars packed with affection says more than store-bought gifts—a true labor-of-love gesture anyone would appreciate year-round!

Making Jams, Jellies, and Preserves with Homegrown Fruit
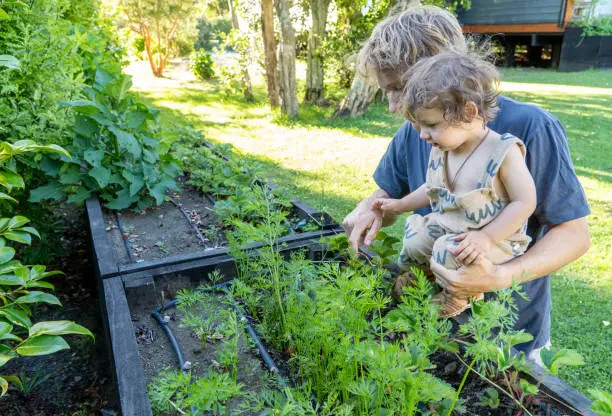
Imagine strolling into your backyard, homesteading, and plucking sun-ripened fruit. Making homemade jams, jellies, and preserves from fresh produce is quite fulfilling. It preserves summer in a jar and fills your cupboard with excellent spreads for months.
First, collect your fruit. Whether you have an apple orchard or a little strawberry patch, pick at peak ripeness. Overripe fruits might become mushy, while underripe ones may need more flavor. So watch those trees and bushes!
After filling your harvest basket, start to work. First, thoroughly wash your fruit. Dirt and bugs shouldn’t get into your sweets.
Jams require tiny fruit bits. Since raspberries and blueberries are bite-sized, this step is easy. Dice larger fruits like peaches and apples finely.
Cooking is fun! Add sugar to chopped fruit in a big pot. Equal parts sugar and fruit work nicely for most jam recipes, depending on how sweet you want. Lemon juice helps set the jam and adds zest.
Stir regularly as you boil everything over medium heat. Patience is needed to stir until the mixture thickens, which might take 20 minutes to an hour, depending on the fruit.
While we wait for our jam to thicken, discuss pectin. Grapes contain pectin, a natural ingredient that helps jams and jellies set. Apples and citrus are also naturally pectin-rich, but strawberries may need store-bought pectin powder.
Juice your fruit instead of cutting it if you prefer jelly to jam. Simmering whole fruits in water until they soften allows them to be strained through cheesecloth or a fine-mesh sieve, leaving clear juice for jelly-making!
Add sugar (and maybe pectin) to this juice and boil again, much like our chunky pals, but we want clarity without pulp.
Preserves preserve larger chunks in their syrupy surroundings rather than breaking them down during cooking. Imagine peach slices suspended gracefully in sugary syrup rather than mashed-up gooeyness in each spoonful of toast in the mornings ahead!
Backyard homesteading yields lots of vegetables. Cucumbers, zucchini, and tomatoes grow. What next? Canning! This old technique is returning.
First, get mason jars, lids, rings, and a large pot. Pressure canners are helpful for low-acid items like meats and green beans. Try acidic meals like tomatoes or apples—they’re forgiving.
Cleanliness matters. Thoroughly sterilize jars. Cut produce into manageable bits. Boil fruits in syrup or water.
Its filling jars are fun! Use a funnel to prevent spills. Leave a half-inch extension space. Clean the rims for a good seal.
Tighten lids and rings with fingertips. Boil jars in an inch-deep water bath. Processing high-acid foods takes 10-15 minutes.
Remove jars with a jar lifter and cool on a towel-lined counter for 12–24 hours. Listen for the gratifying “ping” of jar sealing. After cooling, press the lid center to check the seals—it shouldn’t pop up.
Keep jars cool and dark. A jar of summer tomatoes in winter feels like sunshine!
Canning is odd—lessons from exploding jars caused by insufficient headspace or mold caused by improper sterilizing. Label everything—you’ll cherish it six months later.
I want to give a special mention to jams. Making jam is soothing and fills your home with lovely scents. The appropriate consistency is achieved without hours of simmering with pectin.
Pickling is another thrill. Pickled watermelon rind tastes surprising!
Safety matters. Low-acid foods can cause botulism—use established recipes and pressure canning.
Leftover pickling brine marinates well. Sharing handcrafted goodies with family makes canning joyful. Any recipient will treasure a love jar.
Leave a Reply
You must be logged in to post a comment.