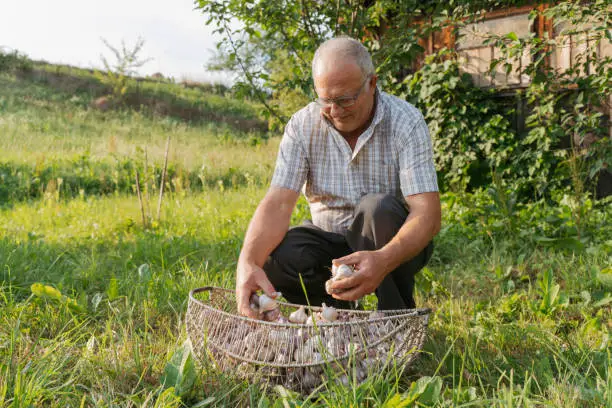
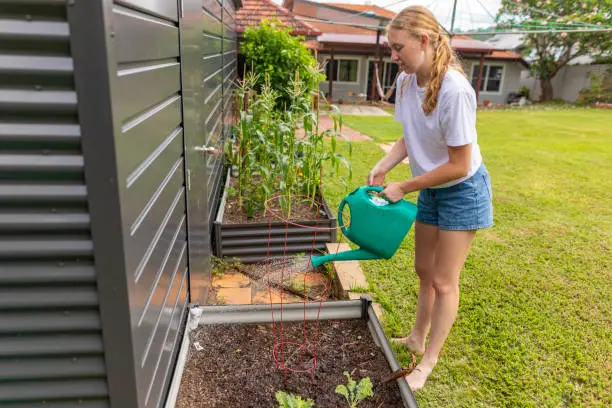
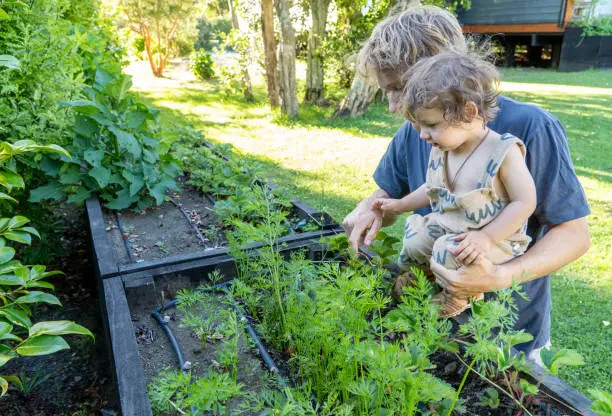
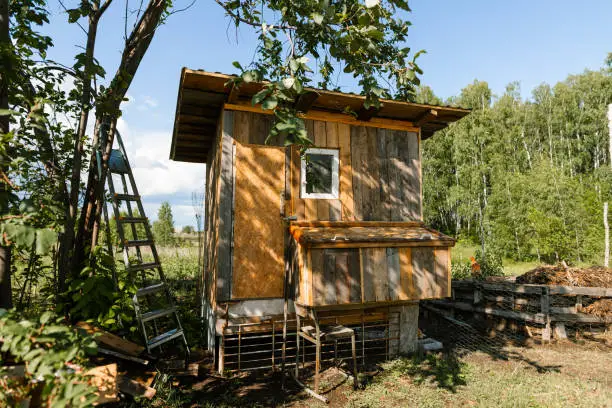
Have you considered growing your seeds? Similar to making a cake from scratch instead of using a mix. It’s very fulfilling. Also, you save money and control what you grow. Let’s discuss backyard homesteading seed production.
Why Grow Your Seeds?
First, why bother? Store-bought seeds are convenient. Growing your seeds is like hoarding gold. You know their origins and treatment. You are rebelling against big agriculture. You reclaim control.
Choose the Right Plants
Not all plants keep seeds well. Some are simpler. Beginners can try tomatoes, beans, peas, and peppers. Their self-pollination prevents cross-pollination from causing problems.
But it would help if you also tried cucumbers or squash. These guys need extra care because they cross-pollinate easily with surrounding kinds. Mixing two recipes can yield unforeseen consequences!
The Timing Is Everything
Picking any old fruit or vegetable won’t provide healthy seeds. The time must be perfect. Most plants should be harvested when the fruit is fully ripe, occasionally overripe.
Let tomatoes mature on the vine until they’re practically falling off. Beans and peas should dry out thoroughly before being harvested for seeds.

Seed Harvesting
Now comes harvesting—the pleasure! Remove the seeds and gooey insides for wet-seeded vegetables like tomatoes and cucumbers and ferment them in water for a few days. This breaks down each seed’s sticky coating.
Cracking open beans or pea pods to collect seeds is easier.
Label your seeds! I promise you’ll thank yourself later when you’re not trying to recall if those were cherry tomato seeds or beefsteak.
Cleaning and Drying
Cleaning seeds requires patience but is manageable. After fermentation, rinse wet seeds under running water until clean.
Throw dried seeds gently before a fan or blow air through them to remove trash and dirt.
Drying is essential after cleaning—moisture is your enemy! Dry them on paper towels or screens in a cool, dry place out of direct sunshine until bone-dry.
Seed Storage
Storing such valuable stones properly ensures a prosperous future season. They should be stored in airtight receptacles like old film canisters or zip-lock bags containing silica gel packets.
To reduce humidity, keep these containers cool and dark in a basement or refrigerator.
Checking viability
To avoid spring planting failures, evaluate seed viability before planting season.
Ten seeds from each batch should be placed between damp paper towels in plastic bags.
Maintain these bags at a moderate temperature, not a sauna, and check back after ten days.
Congratulations if seven out of 10 sprouts! Your seeds are ready.
If fewer than seven grow, better luck next time. It’s better to know ahead of time than after all that hard work planting!
Tricks from my backyard
Over years of gardening, I’ve learned:
1) Rotation—Don’t plant the same family members year after year in the same area; let the soil recover nutrients specific plants leach away to avoid low harvests, disease buildup, etc.

2) Companion Planting—Some plants like each other, while others despise them! Discover who’s friendly and who causes veggie drama!
3) Patience Grasshopper – Gardening teaches patience, whether waiting for germination, harvesting, curing, or anything else. Enjoy the process rather than rushing to the ultimate result every time!
4) **Share Wealth** – Extra seedlings, cuttings, produce, or anything else? Share with neighbors, friends, relatives, or anybody willing to take it off their hands. The community grows stronger through shared
Here are all the tips to build a backyard seed stash now! Roll sleeves and dig dirt—happy gardening adventures await.
DIY Solar Panels for Backyard Energy
Are you sick of rising electricity prices and want to go green? You want to make your backyard homestead self-sufficient. Solar panels may be your new best buddy. We’ll cover DIY solar panel installation for your homestead.
Why Go Solar?
First, why bother with solar energy? First, renewable. Unlike fossil fuels, the sun won’t disappear soon. Solar power gives you free electricity in your backyard.
Imagine drinking lemonade on your patio while your neighbor frets over their utility bill. It’s a good feeling. We’re discussing that freedom.
Start-Up: What You Need
Let’s talk gear before you start thinking about solar-powered electronics. A basic list:
1. Solar Panels—the highlight.
2. Charge Controller—Prevents battery overcharging.
3. Batteries store energy.
4. Home inverter converts DC to AC.
5. Mounting Hardware—to secure panels.
6. Wiring and Connectors—to connect everything.
It may seem overwhelming initially, but breaking it down piece by piece is easy.
Choose Your Panels
Not all solar panels are equal. Monocrystalline, polycrystalline, and thin film are the primary types.
– Monocrystalline Though expensive, these nasty boys work.
– Polycrystalline is less efficient yet cheaper.
– Thin Film: Flexibility yet more excellent room needed for the same output.
Consider your needs before choosing.
Location Matters
Choosing where to arrange these panels is a vital step. In the Northern Hemisphere, they should face south; in the Southern Hemisphere, they should face north. Maximum direct sunlight is needed daily.
If trees or buildings shade your area, reconsider! Shade kills solar panels.
Setting Up Shop
Okay, then! You have your gear and a sunny area; roll up your sleeves and start.
1. Mounting: Use brackets or racks to secure panels.
2. Wire each panel to make an array.
3. Charge Controller: Connect this to your panels and batteries to regulate charging.
4. Batteries: Use several units. Link these.
5. Connect the inverter to the batteries and home wiring.
Sound simple? It is!
Safety first!
Please remember safety! Mishandling electricity is dangerous:
Always wear gloves around wires.
Use insulated tools wherever possible.
Only power up with checking connections!
Some caution can prevent severe shocks or fires.
Monitor Your System
After setting up like grandma’s Sunday dinner tablecloths, there’s more! Check operations regularly:
Check connections monthly
Clean panels every couple of weeks.
Check battery health periodically.
Keeping everything functioning smoothly prevents issues later!
Real-Life Storytime!
Last summer, my friend Jake built a solar array—what stories! Don’t be like Jake—he fried three charge controllers by not following directions. Once he got everything right, man, the satisfaction was absolute! He now runs his workshop off-grid without a sweat or a loss of money!
Common mistakes and how to avoid them
You may encounter various obstacles; therefore, here are expected and how to avoid them:
1) Discounting Quality: Cheap parts cost more to repair/replace!
2) Ignoring local codes/permits: Check first!
3) Poor Planning/Layout: Plan layout carefully—you’ll thank yourself later!
Don’t rush—research first to avoid these blunders!
Financial incentives and benefits
Last but not least, money! Installation prices may appear high. However, solar can save tons over time:
1) Consider federal/state incentives—they often cover a lot!
2) Local tax credits/deductions exist!
3) If upfront costs are onerous, numerous companies provide low-interest green energy project financing!


Leave a Reply
You must be logged in to post a comment.