Imagine a sunny afternoon, birds chirping, and a fizzy pint of beer or cider you brewed. Sounds like paradise. Enter the magical world of backyard homesteading brewing! It’s a journey of bubbling fermenters, scented hops, and the sweet satisfaction of making your beer.
Gear first. You can brew without a lab. A few necessities will get you started. Beer requires a fermentation bucket, airlock, siphon tube, bottles or kegs, and cleaning supplies. Oh! Ensure you have malt extract (or grains if you’re feeling adventurous), hops, yeast, and water.
Cider lovers—good news! The process is even more straightforward. Use the same equipment but substitute fresh apple juice or cider for grains. We want the good thing: no preservatives!
Okay, then! Beer brewing is first because who doesn’t like beer?
Brewing Beer: Magic Potion
Heat water in a big pot—think cauldron, but less witchy. Pour in malt extract and stir continually until boiling. Hops are like grandma’s secret recipe spices—add them at varied intervals.
Cool the liquid gold quickly after boiling for an hour and adding hops if needed. Ice baths work great—don’t splash too much to avoid sticky flooring!
Siphon this cooled wort into your fermentation bucket carefully—no one enjoys spilled beer! Spread yeast like fairy dust and airlock it.
Next is the most challenging part: waiting! I promise it’s worth the two weeks of fermentation.
Bottle or keg that magnificent masterpiece after two weeks (assuming you haven’t chewed off your nails). Before bottling, add priming sugar to create carbonation bubbles.

After another week, open one, and voilà! It’s homemade beer!
Making Cider: Easy at Its Best
Apples aren’t just for pies anymore—let’s make cider!
Get fresh, preservative-free apple juice to avoid doctor visits. Liquid sunshine will fizz, so pour it into your cleaned fermentation container with some headspace.
Fermenting Vegetables and Dairy for Homesteaders
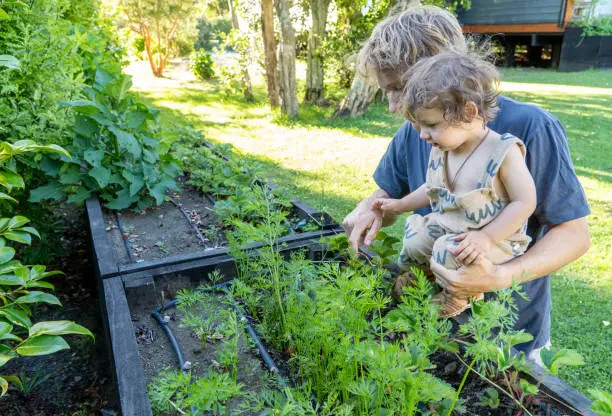
Home fermentation of veggies and dairy can be unique. Imagine converting simple garden or market ingredients into something special. It’s about producing flavors that dance on your tongue, not just preserving food.
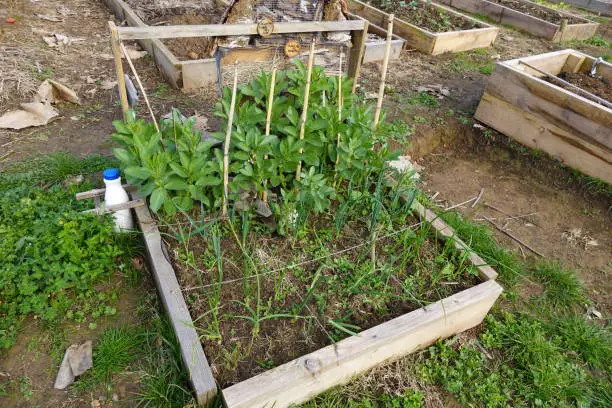
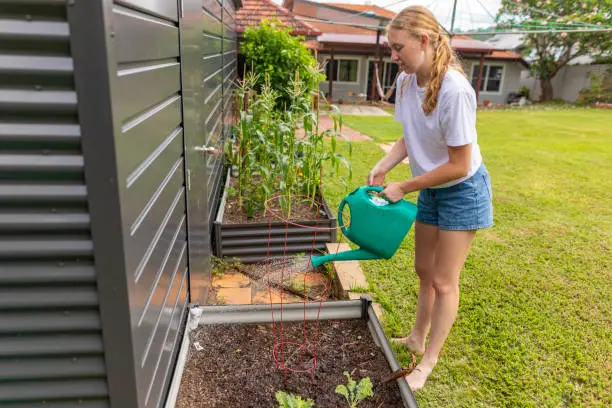
Start with veggies. Imagine cabbage becoming sauerkraut or cucumbers becoming pickles. The method is surprisingly simple. No special equipment is needed—just fresh vegetables, salt, and a jar.
First, get cabbage. Salt it after finely chopping. Massage the cabbage to release its juices—the fun part. The brine is essential to fermentation. To prevent mold, tightly pack the cabbage in a jar and submerge it in liquid.
Use a smaller water-filled jar inside the larger one to weigh it down. Cover with a cloth and let nature work for a week. Taste and refrigerate when it’s the right tanginess.
For added flavor, garlic, dill, or peppercorns can be added to pickles. Cut cucumbers lengthwise or into rounds, put them in jars with your spices, cover them with two tablespoons of salted water per quart, and let them lie at room temperature for several days.
Now for dairy—yogurt, and kefir are magical. Yogurt requires milk and a starting culture (plain yogurt works). Kill bacteria by heating the milk to 180°F, then cool it to 110°F before adding your starter.
Pour this mixture into jars and reheat them in a light-on oven for several hours. Creamy homemade yogurt can be sweetened or flavored after 6-12 hours.
Kefir is simpler but healthier due to its diverse probiotic content. It would be best if you had little cauliflower-floret-shaped kefir grains. Leave these grains in milk (any sort) at room temperature for 24 hours, covered loosely to enable airflow.

Strain out the grains (they’re reusable) and drink your fizzy drink straight or in smoothies. It’s acidic and a little effervescent, but once you try it, you’ll never return!
Tell me a story: The first batch of sauerkraut failed because I forgot about it for two weeks in the summer. The jar smelled foul when I remembered—a beginner mistake, but hey, live and learn!
Remember: hygiene matters! Avoid microorganisms from ruining your fermentation party by washing your hands before touching components.
No worries if your efforts result in rotting veggies or curdled milk! Don’t give up after one lousy batch—even experienced fermenters fail.
Another gem from my experience? Fermented foods are great gifts! A friend gave me homemade kimchi that was amazing—spicy and flavorful! It started my passion for fermenting spicy cabbage blends at home.
Why bother when store shelves have these goodies? The simple answer is that ingredient control implies healthier options without preservatives or excess sodium in commercial products—and cost savings!
Plus, making nutritious food from scratch is incredibly satisfying. Between the earth’s riches and our plates, store-bought foods can’t match!
In short spurts of enthusiasm, if you haven’t fermented yet, permit yourself today—it opens doors beyond sustenance to culinary pleasures limited only by imagination—and maybe some kitchen mistakes worth laughing over!
Imagine a sunny afternoon, birds chirping, and a bubbly pint of your homemade beer or cider. Sounds idyllic. Discover backyard homesteading brewing magic! The voyage involves bubbling fermenters, aromatic hops, and the sweet joy of homebrewing.
Gear first. Brew without a lab. A few basics will get you started. Beer needs a fermentation bucket, airlock, siphon tube, bottles or kegs, and cleaning supplies. Oh! Ensure you have malt extract (or grains if you’re daring), hops, yeast, and water.
Good news for cider lovers! The process is more straightforward. You can replace grains with fresh apple juice or cider using the same equipment. Want the good stuff, preservative-free?
Okay, then! Since everyone likes beer, brewing begins.
Magic Potion: Beermaking
Heat water in a large pot—less witchy than a cauldron. Add malt extract and stir until hot. Add hops at various intervals, such as grandma’s secret recipe for spices.
After boiling for an hour and adding hops, allow the liquid gold to cool fast. Ice baths are great—don’t splash too much to avoid sticky floors!
Siphon this cooled wort into your fermentation bucket carefully—no one likes spilled beer! Spread fairy dust-like yeast and airlock.
Next is the hardest—waiting! I guarantee it’s worth two weeks of fermentation.
After two weeks (if you still need to eat your nails), bottle or keg your creation, add priming sugar to create carbonation bubbles before bottling.
Turn apples into cider instead of pies!
Avoid doctor visits with fresh, preservative-free apple juice. Sunshine fizzes, so pour it into a clean fermentation container with headspace. Fill with yeast and an airlock. Two weeks later, you can bottle your cider. Priming sugar before sealing adds a lovely glitter.
Homesteader Vegetable and Dairy Fermentation
Amazing veggie and dairy fermenting at home. Imagine making something spectacular from garden or market ingredients. Not just preserving food but creating flavors that dance on your tongue.
Begin with veggies. Imagine cabbage or cucumbers as sauerkraut or pickles. The procedure is surprisingly easy. Use fresh vegetables, salt, and a jar.
Start with cabbage. Salt it after finely cutting. Playfully massage the cabbage to release its juices. Brine is necessary for fermentation. Pack cabbage tightly in a jar and soak it in liquid to avoid mold.
A smaller water-filled jar inside the larger one can weigh it down. Allow nature to work for a week under a cloth. Taste and refrigerate when tangy enough.
To flavor pickles, add garlic, dill, or peppercorns. Cut cucumbers lengthwise or into rounds, place them in jars with spices, fill with two tablespoons of salted water per quart, and let them sit at room temperature for several days.
Leave a Reply
You must be logged in to post a comment.