Imagine a crisp evening, the smell of fresh bread, and a fire-lit cob oven. If that’s your magic, you’re in luck. Building a cob oven in your backyard homesteading is an adventure.
First, what’s cob? A natural building material made from clay, sand, straw, and water. Imagine nature’s concrete but cooler and greener. It’s sturdy and heat-retaining, so it’s been used to build buildings and ovens for generations.
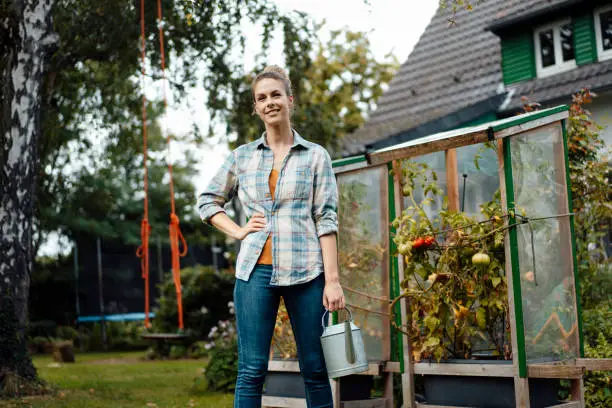
Let’s get down to business. Start by choosing the ideal backyard spot. Level, dry, and well-drained land would help. Your creation should stay intact after the first rain.
Lay the foundation after finding your area. Though tedious, this is necessary. Build a stable platform for your oven with bricks or stones. Level everything because an uneven foundation can cause problems later.
Next, gather the ingredients for the cob mix. Clay (not sandy), sharp sand (grittier), straw (for strength), and water are needed. The ratio is one part clay to two parts sand, using straw to bond it. Mixing cob is messy but fun—like mud pies on steroids.
Stomp your ingredients on a tarp or old sheet to mix them. When done, it should feel like soft playdough, not firm.
After making your cob, construct your oven’s base layer directly over the foundation using handfuls of mix fashioned into loaves or balls packed firmly together without gaps—like organic bricklaying! Methodically build walls higher while allowing space inside for fire to burn later, heating the structure efficiently!
After laying a sturdy basis, build the oven floor. Fire bricks are great since they don’t fracture at high temperatures. Place them snugly on top of the cob layer without gaps. This will be your culinary canvas.

The fun part is making the oven dome. Build a temporary sand mold, like a gigantic sandcastle, for your desired oven interior. Wrap your fire brick floor in damp newspaper to prevent sand from sticking. Mound and smooth, moist sand into a dome. Your sand dome will decide the size of your oven cavity, so make sure it can bake those delicious loaves of bread and pizzas you’ve been dreaming about.
Apply cob mixture around your sand mold. Layer cob thickly and evenly from base to top. For heat retention, aim for 6-8 inches of wall thickness. Press the cob firmly against the sand mold, smoothing out cracks and gaps with your hands. Like clay sculpting, this is meditative and gratifying.
Build the dome with a chimney or vent at the top to vent smoke. A metal pipe inserted in the cob makes a simple chimney. Ensure it’s slightly forward of the dome’s apex for airflow and burning efficiency.
Finish the dome and let it dry slowly. Depending on your climate, this can take days or weeks. Please protect it from rain and direct sunlight with a tarp, but allow airflow to prevent mold. This stage requires patience to avoid cracks.
Remove the sand mold from the oven after the dome dries. Start at the entrance and carefully dig out the sand to enter. The newspaper will indicate when you’re near the cob wall. After removing the sand, you’ll have a gorgeous hollow dome ready to fire.
Before cooking, condition the oven by lighting little fires for many days. This slow heating helps the cob harden and avoid cracking. Burn little twigs and build up your fires.
Your outdoor cob oven is ready! Gather friends and family for a rustic pizza night, or create homemade bread. Wood-fired cooking produces unmatched flavors, and making your oven enhances every bite.
Building a cob oven ties you to nature and historic customs. After patience, work, and some muddy fun, you receive a functioning piece of art that draws people together. Roll up your sleeves, gather resources, and start this rustic adventure—your garden will never be the same.
Building using Reclaimed Wood and Natural Materials in Backyard Homesteading
Have you considered rusticating your backyard? Imagine a cozy reclaimed wood nook surrounded by nature. Dreamy, right? Let’s explore ways to realize your dream.
Reclaimed wood has a certain appeal. This lumber is historic. Imagine barn beams or ship planks. Every piece has a story. When you create with reclaimed wood, you preserve history.
But where is this treasure trove? Search local salvage yards or online marketplaces. Sometimes, chatting with neighbors yields unexpected finds. My friend uncovered a stack of oak boards from a forgotten project in his uncle’s garage.

Before you start hammering, consider these. Reclaimed wood frequently has nails, screws, or paint residues. Like finding Easter eggs! These are easy to remove with essential tools and elbow grease.
One beautiful afternoon, I used yard sale cedar boards to build my garden shelter. Mid-sanding, I found initials cut into one wood, possibly by an adolescent lovebird decades ago. Moments like these justify the effort.
The possibilities are unlimited with salvaged wood and natural materials like stone or clay. Consider stone pathways to your wooden gazebo or clay pots in your garden. Mixing these materials creates a timeless and organic combination.
How about creating raised garden beds with antique bricks and wood for harmony? It looks great and is practical for producing vegetables and flowers. Furthermore, sowing plants in soil rich in history is quite pleasant.
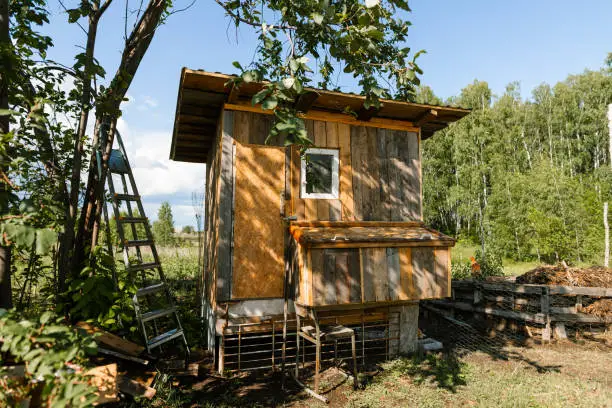
Remember backyard roofing alternatives. Old corrugated metal sheets can give your shed or poultry coop a farmhouse look and endure weather changes.
Avoid throwing out those wine bottles! When embedded halfway into the ground neck-downwards, they bring color and eccentricity to garden walkways for free!
A friend made an outdoor dining table from pallets he found behind a store. He made this beautiful centerpiece with sanding, staining, and patience. It was the talk of every barbecue party we had.
Nobody likes freezing their toes on cold evenings outside, so let’s talk insulation! Sheep wool is ideal if you choose natural and sustainable insulation over synthetic ones at big-box stores.
And regarding sustainability, solar-powered lights across driftwood trellises create excellent evening ambiances without electricity bills!
Beware of underestimating community workshops or DIY clubs in town! Joining one can provide helpful suggestions (often free supplies) and promote friendship among repurposing and creativity enthusiasts.
Put on your gloves and start working! Your backyard can become a rustic wonderland where every nail hammered echoes unknown stories cherished forever.
Leave a Reply
You must be logged in to post a comment.