You walk out to your backyard, homesteading with morning dew on the grass. Lifting a log with your knees reveals lush, delicious mushrooms. Grow gourmet mushrooms at home—anyone can do it.
They are beginning with the basics. Unlike plants, mushrooms are fungus. They flourish in dark, damp, organic-rich conditions. Spores—fungi’s seeds—are used instead of seeds in spore gardening.
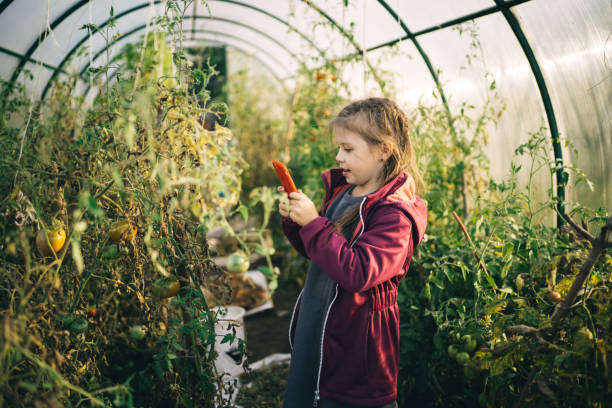
First, pick your mushrooms. Oyster and shiitake mushrooms are accommodating to beginners. If daring, try maitake or lion’s mane. Each variety has unique traits and flavors.
Next is the substrate, a mushroom-growing substance. Hardwood logs, straw, or sawdust are great for shiitake mushrooms, and sawdust is great for oysters. Imagine making your fungus pals a comfy bed.
The magic starts with immunization. ***Mushroom spawn—a mycelium starter culture—***is needed. Drill log holes or mix spawn into straw or sawdust substrate. Think of it as planting seeds in fruitful soil.
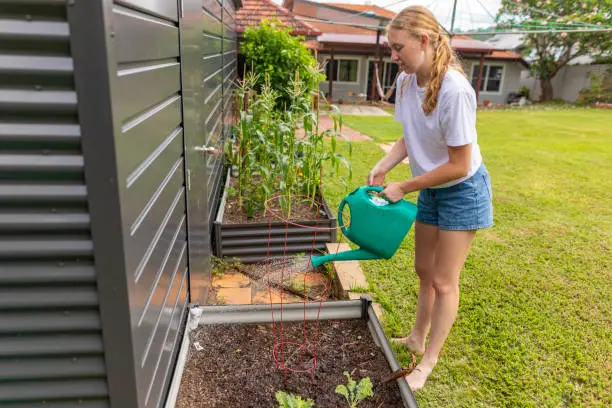
After vaccination, patience is your friend. Keep the logs moist but not mushy in a shady place, like Goldilocks’ porridge temperature.
I once overwatered my shiitake logs during a hot summer week, converting them into a mushy sponge instead of a fungus environment! Lesson: Moderation matters.
After months, tiny mushroom “pins” will grow on the wood or substrate. This stage feels like finding treasure every time you check!
Logs can be harvested 6-12 months after injection, depending on the fungus, whereas straw or sawdust can be harvested sooner. Twist gently at the base when harvesting to avoid harming future growth.

We’ll talk about bugs and diseases because unwelcome guests eating your delicious food ruin your appetite faster! Beer traps repel slugs without chemicals, which enjoy mushrooms almost as much as we do.
Imagine walking out to your backyard with morning dew on the grass. Lifting a log with your knees reveals lush, delicious mushrooms. Grow gourmet mushrooms at home—anyone can do it.
They are beginning with the basics. Unlike plants, mushrooms are fungus. They flourish in dark, damp, organic-rich conditions. Spores—fungi’s seeds—are used instead of seeds in spore gardening.
First, pick your mushrooms. Oyster and shiitake mushrooms are accommodating to beginners. If daring, try maitake or lion’s mane. Each variety has unique traits and flavors.
Next is the substrate, a mushroom-growing substance. Hardwood logs are great for shiitake mushrooms, and straw or sawdust is great for oysters. Imagine making your fungus pals a comfy bed.
The magic starts with immunization. Mushroom spawn—a mycelium starter culture—is needed. Drill log holes or mix spawn into straw or sawdust substrate. Think of it as planting seeds in fruitful soil.
After vaccination, patience is your friend. Keep the logs moist but not mushy in a shady place, like Goldilocks’ porridge temperature.
I once overwatered my shiitake logs during a hot summer week, converting them into a mushy sponge instead of a fungus environment! Lesson: Moderation matters.
After months, tiny mushroom “pins” will grow on the wood or substrate. This stage feels like finding treasure every time you check!
Depending on the fungus, logs can be harvested 6-12 months after injection, whereas straw or sawdust can be harvested sooner. Twist gently at the base when harvesting to avoid harming future growth.
We’ll talk about bugs and diseases because unwelcome guests eating your delicious food ruin your appetite faster! Beer traps repel slugs without chemicals, which enjoy mushrooms almost as much as we do.
Mold is another issue, especially in moist environments. If growing indoors, use a fan to circulate air around your logs or substrate. Check for discoloration or strange growths and remove them immediately to prevent their spread.
Backyard mushroom gardening is fun for cooking. Fresh mushrooms have better flavors and textures than store-bought ones. Shiitake mushrooms lend umami to stir-fries and soups, while oyster mushrooms add butter to pasta and sautés. Try new dishes and enjoy your work.

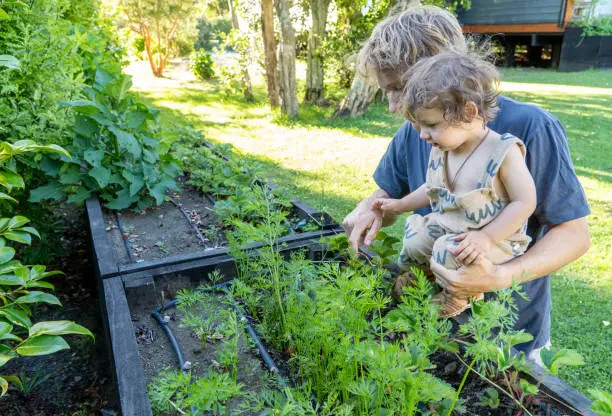
Sharing the produce with loved ones is also rewarding. Using mushrooms you’ve cultivated makes a dinner unique and celebrates nature’s bounty.
DIY Mushroom Growing Chamber: Backyard Homesteading
Imagine a backyard sanctuary with plants, flowers, and a mushroom kingdom. Dreamy, right? We’re going to explain how to create a mushroom growth chamber.
First, location. A shady corner will do, not acres of land. Mushrooms are like introverted friends who love dim coffee shops and sunny beaches. Dark, humid situations suit them. Finding the point where sunlight barely touches the earth is ideal.
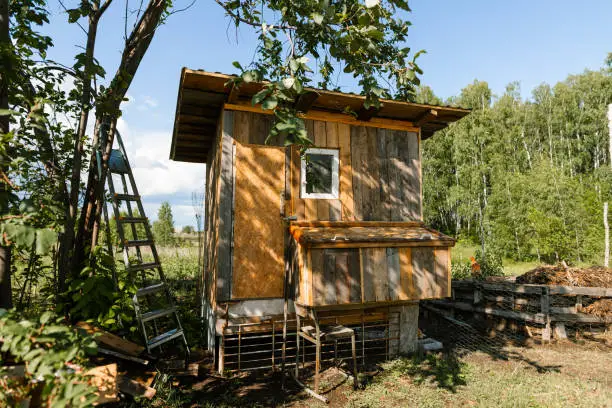
Proceed to materials. Consider using an old wardrobe or wooden crate that can withstand dampness without crumbling like a cookie. You can build one with plywood and basic carpentry abilities if you’re handy.
Ventilation is crucial. Mushrooms shouldn’t gasp for oxygen like marathon runners. Drill small holes around your chamber to allow airflow yet preserve humidity.
Insulation follows. Mushrooms will not develop if the temperature is excessively hot or cold. To maintain the temperature, line your chamber with foam boards or old blankets.
Another critical issue is humidity. Remember tropical rainforests from geography class? We want a damp, not soaked, vibe. Simple misting systems like spray bottles or automated misters work well.
Okay, substrate—mushroom dirt but colder and more particular. Pasteurized straw, sawdust, or coffee grounds can destroy undesirable fungi. Evenly distribute this substrate in chamber trays or bags.
Vaccination time! Introducing mushroom spores into your substrate is like planting seeds in the soil, but minuscule. Online and specialist gardening stores sell spore syringes.
Once immunized, patience is your best friend because you must wait and maintain circumstances! Mist often and check temperatures every day like an overprotective parent checking homework.
During a heatwave, I failed to inspect my mushroom chamber and found my beautiful mushrooms withered like raisins! Conclusion: constant attention is essential!
Now comes harvesting—the pleasure! Showtime when those lovely, tasty tops peek out from the substrate! Cut them at the root with clean hands or scissors without disturbing nearby plants.
Maintenance follows harvesting; remove the remaining substrate before beginning afresh with fresh material for more fungal delight!
Remember pest control! Slugs love mushrooms almost as much as we do, so beware of them trying to crash your party!
Creating this mini-mushroom paradise requires a little TLC, but it isn’t hard. It’s satisfying since cultivated mushrooms taste great, and raising such diverse and gorgeous life forms is incredible!
Leave a Reply
You must be logged in to post a comment.